Item
Purposes
The main purpose of this module is to enable the administrator to view and manage the items on the system.
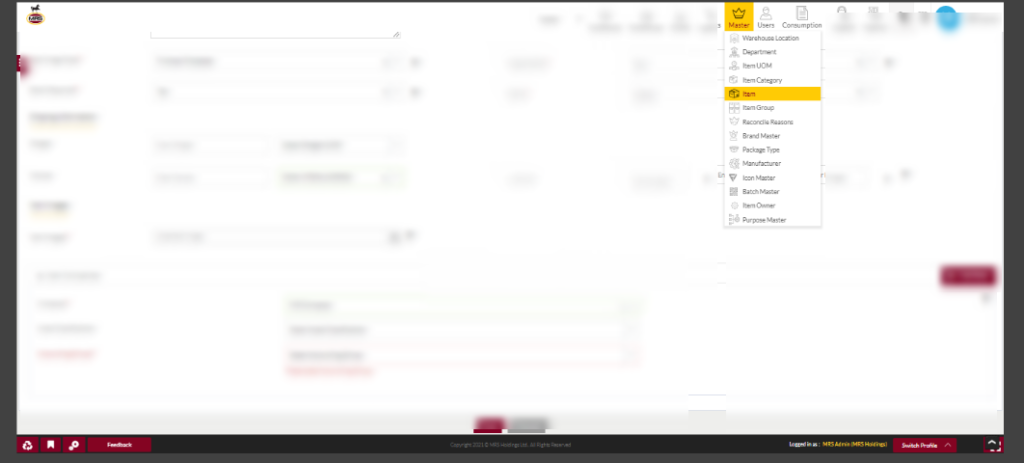
Navigation Path
Path: Masters > Items
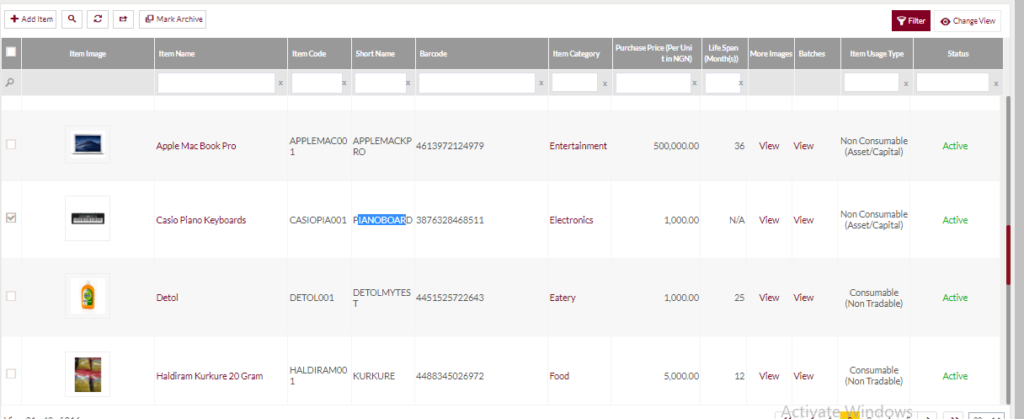
Listing Screen
View list of all the items that were previously added by the Administrator. Admin will have an option to add, update, and Archive the items. Admin will be able to search the items using the filter option this is provided on the list.
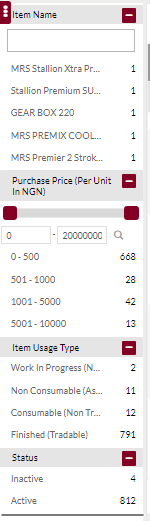
Left Panel search: Admin can filter the listing using Item Name, Cost (Per Unit In NGN), Zone Name, and Effective Date.
- By adjusting the limit for the Cost(Per Unit In NGN) condition, and by clicking on the search icon. The data will be displayed in the listing based on the selected Item cost limit.
Mark the Items Archive
- Admin will have the option to Archive the Items from the list.
- Admin needs to select the Items from the listing for Archiving the Items.
Import Items
- On clicking the Import Items Button, Admin will be able to import the Items. Help for uploading the item data will be displayed here.
View the Archived Items
- On clicking the View Archive Data button, Admin will be able to view all the Archived Items information.
- Admin will have the option to download the item barcodes in PDF format.
- Admin can either download the barcodes for selected Items (or) for all the items available in the listing.
Add Items: To add an item, click on the below button

Add Item
- User will be able to add the items from this page
- The user needs to fill in the items information to add the items to the system.
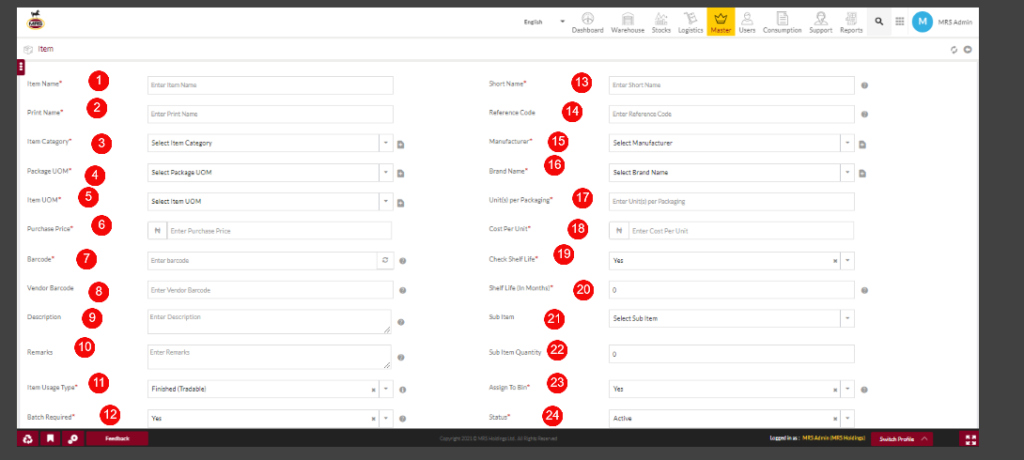
Fields available in the Add/Edit Item Form
Item Information:
- Item Name(Required): This is for specifying the name of the Item.
- Print Name(Required): This is for specifying the print name of the Item.
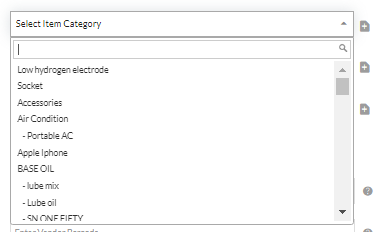
- Item Category (Required): Select the Item Category from the drop-down list. If users want to add a new Item Category for the item, by clicking on the “+” option user will be able to add it.
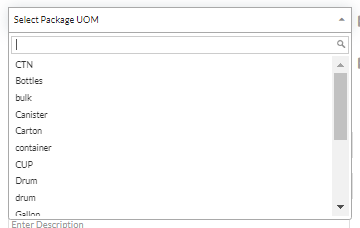
4.Package UOM (Required): This is for specifying the package type for the Items. Select the Package Type from the drop-down list. For example, if the item is Grease then select its package name as bottle or container. By clicking on the provided “+” option, the user will be able to add a new record.
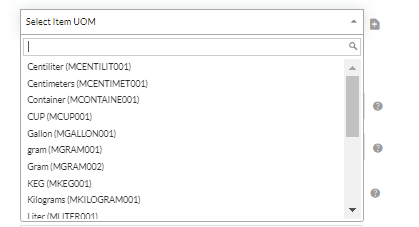
5. Item UOM (Required): Select a Unit for the item from the Dropdown. For example, if the item is Grease then select the unit as Gram (or), Kilo Gram.
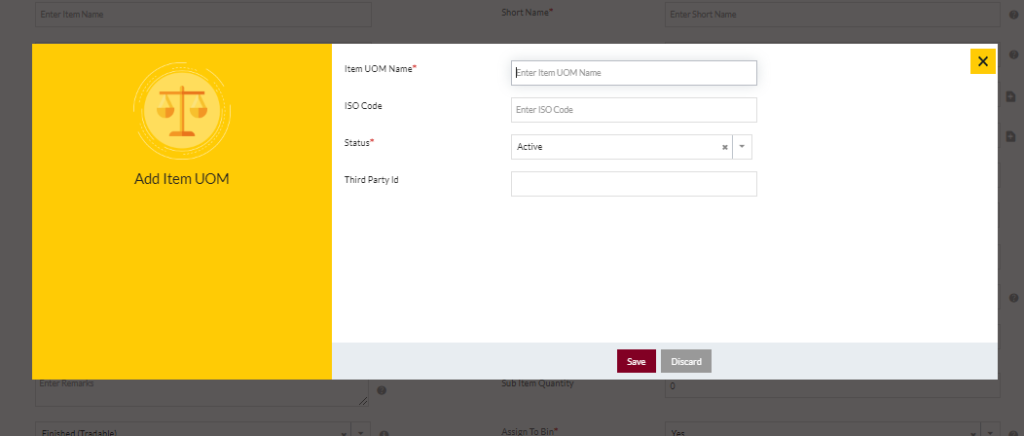
- By clicking on the “+” icon provided, a pop-up will be displayed as below. In that pop-up, Admin will be able to Add a New Record for that respective field.
6. Purchase Price(Required): This is for specifying the Purchase Price of the item.
7.Barcode(Required)Enter the Bar-code for the item if any. For example, “7007039172588”.The user can also generate a random barcode by clicking on the generate icon provided along the text field

8.Vendor Barcode(Required) – Enter the vendor Bar-code for any items
9. Description: This is for specifying the Description for the item if any.
10.Remarks: Enter Remarks for the Items if any.
11.Item Usage type(Required) – This is for specifying the usage type of the Item. The admin can choose the Item Usage type from the drop-down menu.
12.Batch Required(Required)
13. Short Name(Required): This is for specifying a short name for the item. (This code will be synced with other platforms for the items)
14.Reference Code
15. Manufacturer(Required): This is for specifying the manufacturer of the item.
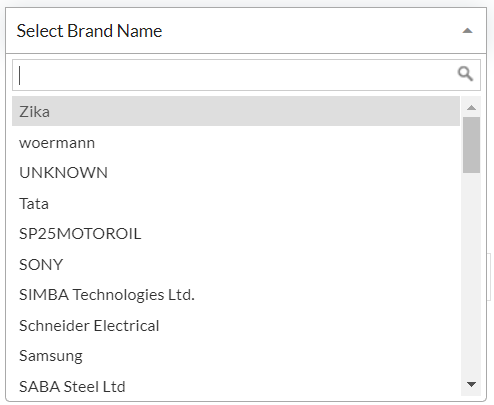
16. Brand Name(Required): Select a brand name for the item from the drop-down.
17.Units Per packaging – This field is for specifying the number of units of items for packaging.
18.Costs Per Unit – This field is for specifying the cost of each unit of items.
19.Check the Shelf life(Required) – Set the Shelf life(validity is applicable for the item, or not) for using the dropdown list.
20.Shelf Life in Months(Required) – This is for specifying item validity. For example, if the item is valid for 12 months then enter “12” here. (Note: This field is required if the “Check Shelf Life” is selected as “Yes”).
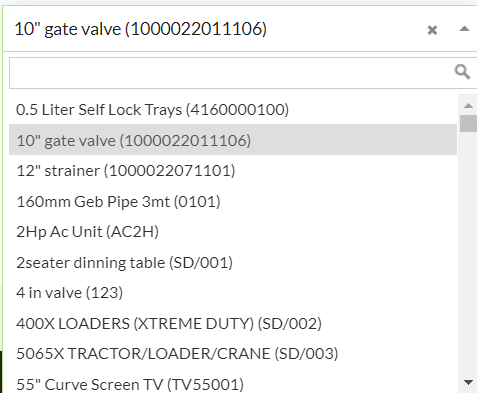
21.Subitem – Select a Sub item of the item from the drop-down, if any.
22.Subitem Quantity – Enter sub-item quantity, if any.
23.Assign to Bin: This is for selecting the option that the Bin assignment is possible for the item (or) not. Select an option from the drop-down. If bin assignment is possible then it should be Yes else No.
24.Status – This field is to specify the status of the item as Active or Inactive.
Shipping Information

1. Weight (Required): This is for specifying the weight of the item. (For example, if the item is a lubricant in liquid form and contains 1 Liter in 1 unit, then entered 1L here. Similarly, if the item contains grease in solid form, and contains 400 grams in 1 unit then entered 0.4 KG or 400g.)
2. Volume – This is for specifying the volume of the item
Item Images and Item Companies
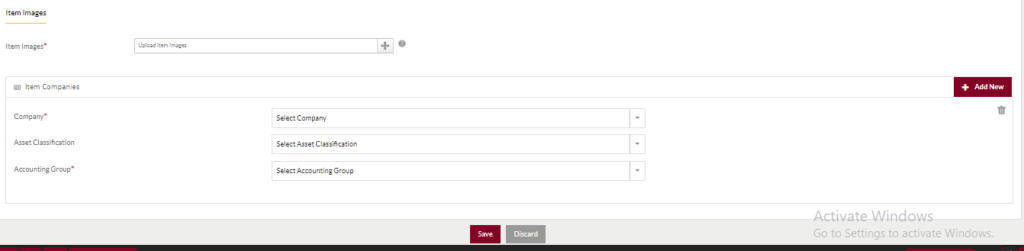
1. ItemImage (Required): This is for uploading the Item images. This is for specifying the attachments of the Items, like the Item images. The Item Images can be selected from the drop files or they can be uploaded by clicking on the “+” (add new option).
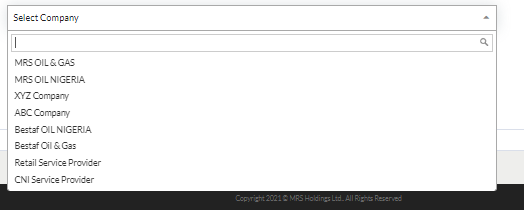
2.Company(Required): This is for specifying the company of the item. The user can select the company from the Item drop-down list.
3.Asset Classification: This specifies the classification of the asset. The classification category can be selected from the drop-down only when the user has selected the Company in the previous selection.
4.Accounting group(Required): This specifies the accounting group for the item. The user can select the accounting group based on the company they have selected. The user can select the accounting group from the drop-down, based on the company selected.
- Admin can save the Item by submitting the form or can discard the Item.
- On Submission, the Item will be listed on the item listing page.