Stock Out-Bound
Purpose
The main purpose of this module is to enable the administrator to view and manage the stock outbound requests placed by the admin or the customers from the sales portal.
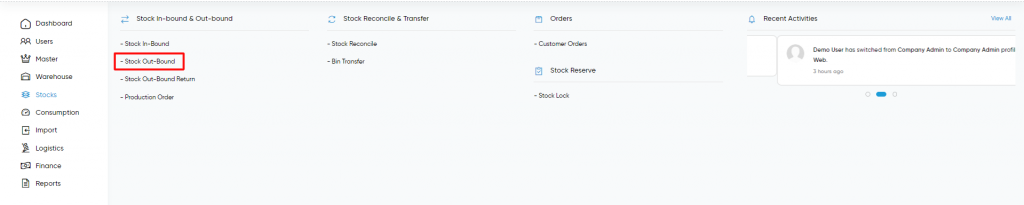
Navigation Path
Path: Stocks> Stock In-Bound & Out-Bound > Stock Out-Bound
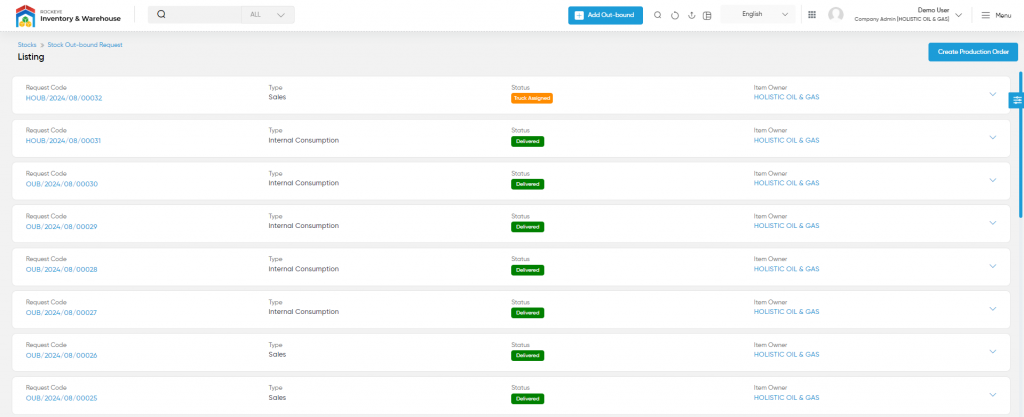
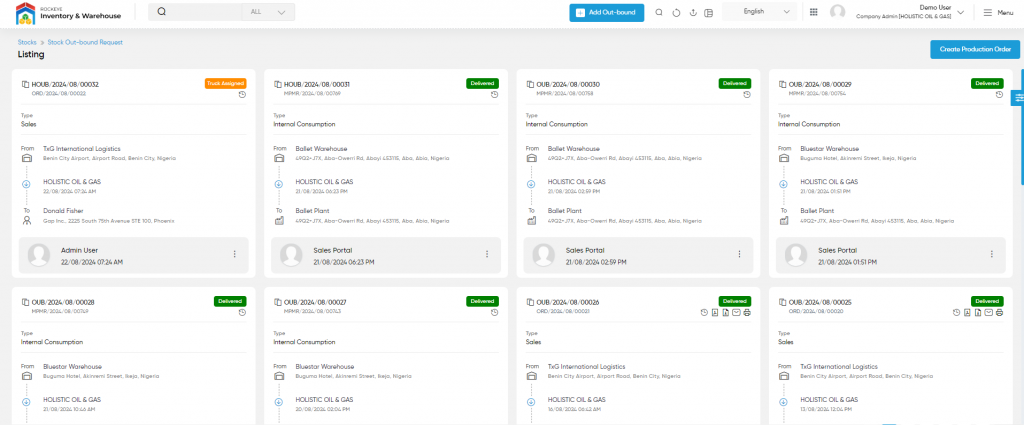
Listing Screen
View list of all the outbound requests that are previously requested by the customers from the sales portal (or) by the admin of the system. Admin will be able to cancel the requests. Admin will be able to download the waybill pdf and will be able to send the waybill email. Admin will be able to search the orders using the filter option this is provided on the list. Admin can view the listing in three ways; admin will have the option to change the view by clicking on “Change view” Button.
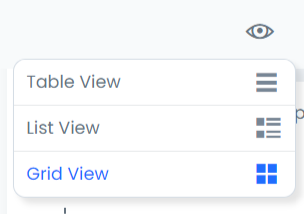
Table View

List View
Grid View
Pick Stock for the Order
- By clicking on the pick stock button in the list and grid view, the admin will be able to pick the ordered stock for delivering the products. Admin will be able to deliver the products fully and partially by selecting the respective options. On click, process stock out-bound request page will be displayed
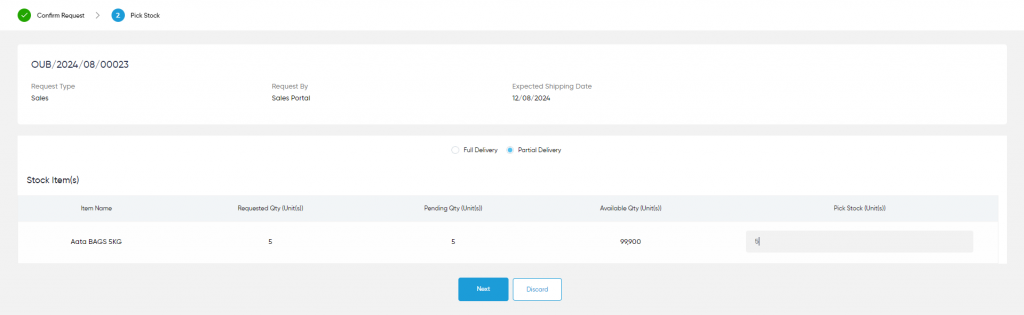
- Choose the delivery type and then click on the ‘Next’ button to process the order. If partial delivery, the user needs to specify the stock quantity. The selected quantity should be less than or equal to the pending and available quantity.
- Pick Stock: This is for specifying the quantity of picking a stock. Must pick the stock less than or equal to pending stock. For example, if the pending stock is 45 units then pick the stock less than 45 units or equal to 45 units. Then click on the Next button.
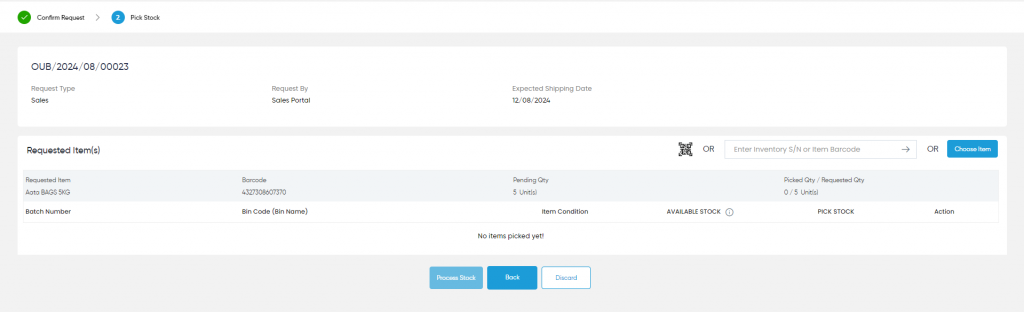
- Scan the Barcode of the batch or product related to the warehouse. or choose the item and click on the add option under the action fields.
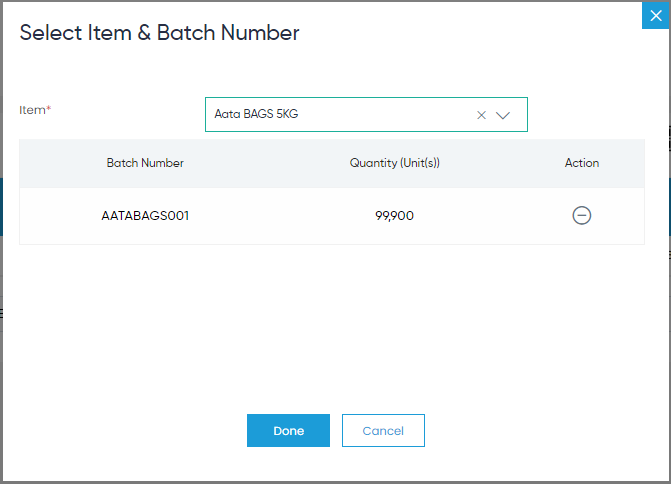
- Choose the quantity of picking stock from the bins. Must Pick the total requested quantity from the available Bins. Then click on the Process Stock button.
- Scan the existing product or batch barcode of that warehouse. Pick the required quantity of stock from the available bins.
Cancel the Request
- By clicking on the cancel order button, the admin will be able to cancel the order request placed by the customer’s (or) admin.
Add New Out-Bound: To add a new stock out-bound, click on the below button
Place Stock Out-bound Request
- Users will be able to place a stock out-bound request from this page
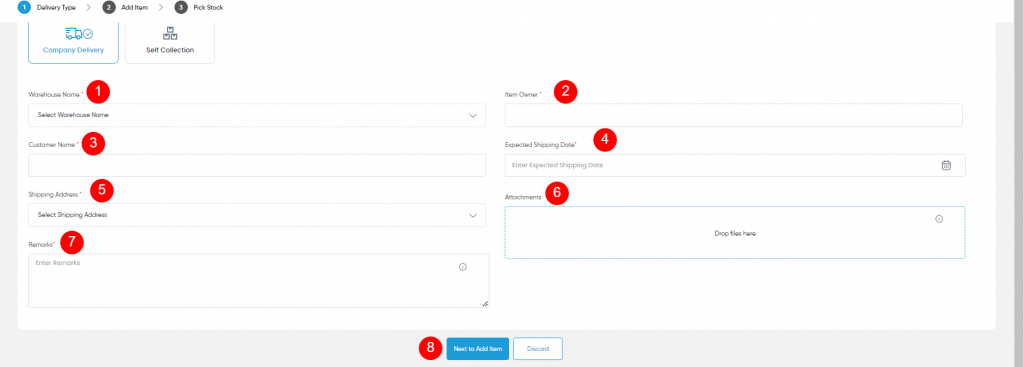
- The user needs to fill in the stock outbound information to place the order.
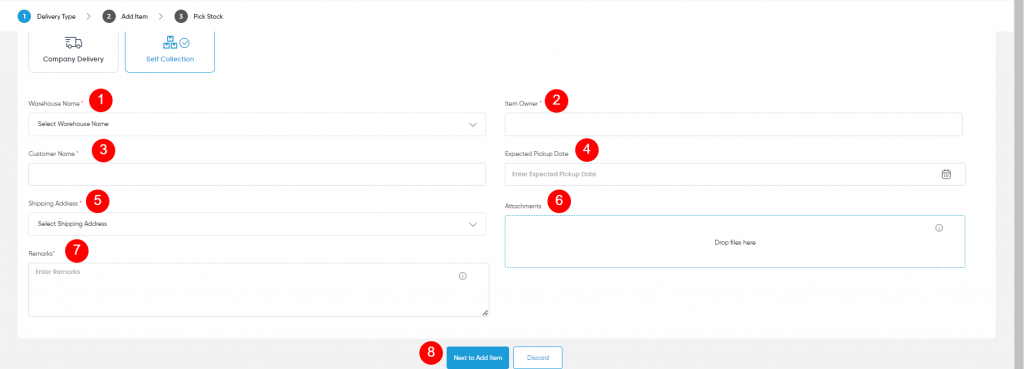
- Delivery Type (Required): This is for specifying the Delivery type of out-bounded stock. If the type is selected as “company delivery” then specify the expected shipping date in the respective field, if type is selected as “self-collection” then specify the expected pickup date.
Fields available in the Stock in-bound requests form
- Warehouse Name (Required): This is for specifying the warehouse name. Specify the warehouse name from where the stock is Outbound. Select the warehouse from the dropdown.
- Item Owner (Required): This is for specifying the Owner of the item. For example, if the item comes under MRS Holdings then specify the owner as MRS Holdings.
- Customer Name (Required): This is for specifying the name of the customer, who ordered the stock.
- Expected Shipping Date (Required): This is to specify the date for starting shipping the ordered products. Choose the Approximate date from the date picker. (or) Expected Pickup Date (Required): This is to specify that at what date the ordered Products started for Pickup. Choose the Approximate date from the date picker. (Note: Filed will displayed only when self-collection is selected for the delivery type)
- Shipping Address (Required): Select the shipping address for delivering the order.
- Attachments: This is for specifying the attachments if any. For example, any PDF files or images related to the Out-Bounded Stock.
- Remarks (Required): Specify the remarks if any.
- Next to Add Item: After specifying the above details, the user needs to click on the next to add item button, and to add the required items for delivery.
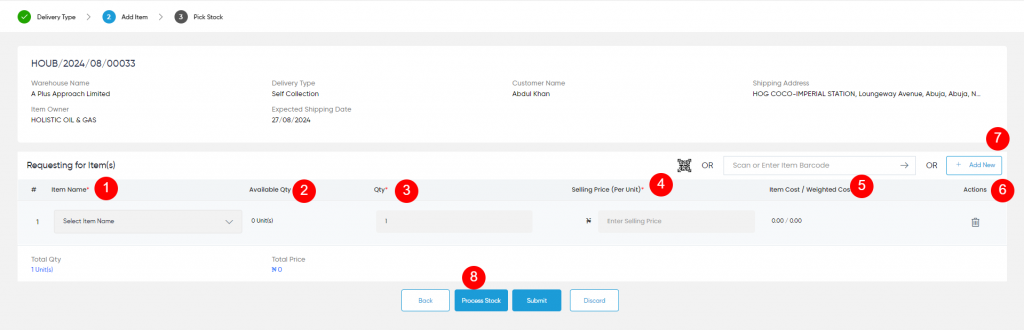
- Item Name (Required): Select the item name for the order delivery from the drop-down.
- Available Quantity: Represents the selected product available quantity in the warehouse.
- Quantity (Required): Select the product quantity for the delivery.
- Selling Price (Required): Specify the per unit product selling price.
- Item Cost/Weighted Cost: Represents the cost for some of the selected product quantities for sale.
- Delete: By clicking on the delete button, user will be able to delete the added product information.
- Add New: If there is a need to add a new product, that can be possible by clicking the “Add New” button.
- Process Stock: After specifying the required details and by clicking on the process stock button, the outbound request will be updated successfully.
Reference Video Links
Out-Bound_Request_for_In-Bound_Type_Transfer