Trucks
Purposes
The main purpose of this module is to enable the user to view and manage the details of the trucks on the system. Users will be able to select the actively available trucks for delivering the customer’s requested orders.
Navigation Path
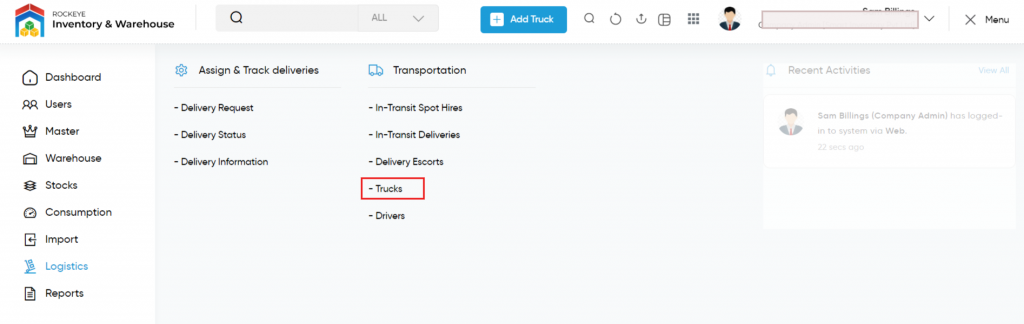
Path: Logistics > Transporation > Trucks
Listing Screen
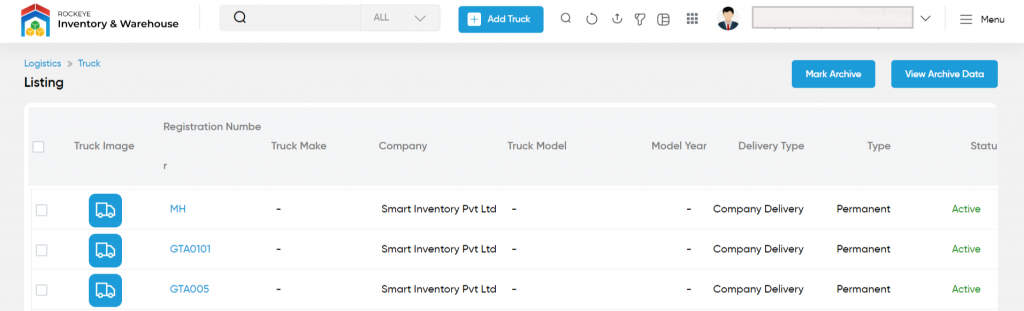
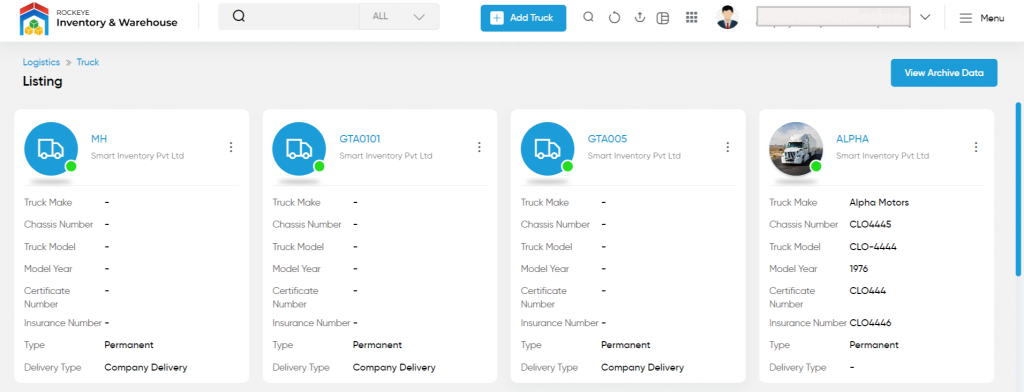
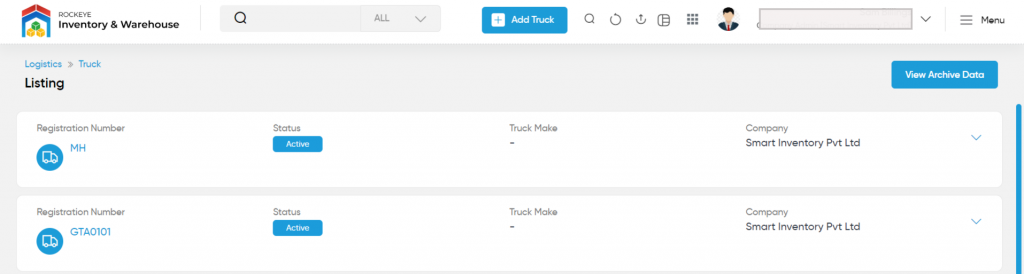
View list of all the trucks that are previously added by the user. User will be able to add, update, and archive/unarchive the trucks on the system. By clicking on the truck registered number, the admin will be able to view the summary of the truck. User will be able to search the data using the filter option that is provided on the list. User can view the listing in two ways, the user will have the option to change the view by clicking on the “Change View” Button.
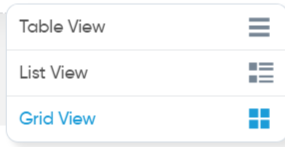
Table View
Grid View
List View
Mark Archive

- On clicking the mark archive button user will be able to archive the trucks.
- The user needs to select the trucks from the listing for archiving the trucks.
View Archive Data

- On clicking the view archive data button, the user will be able to view the data of the archived trucks. Users will be able to unarchive the archived trucks from the archived trucks listing.
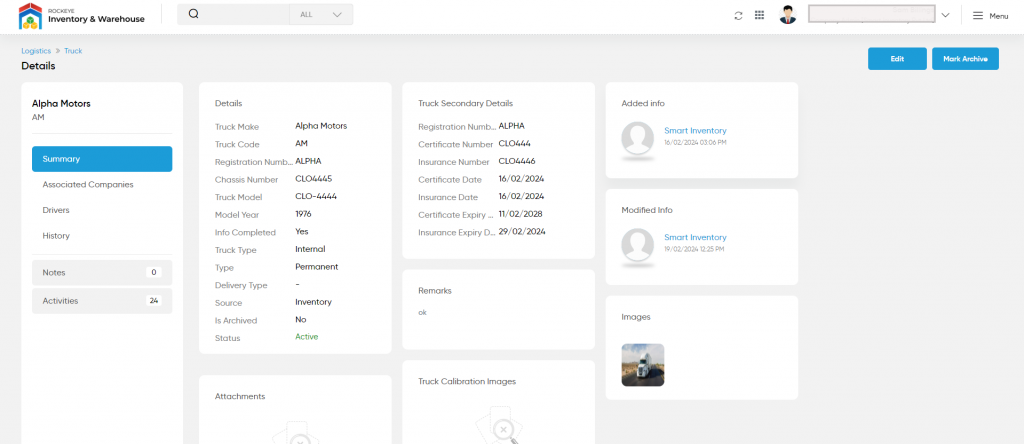
View Summary
- On clicking the truck registration number in the listing, the user will be able to view the summary of the trucks as shown below.
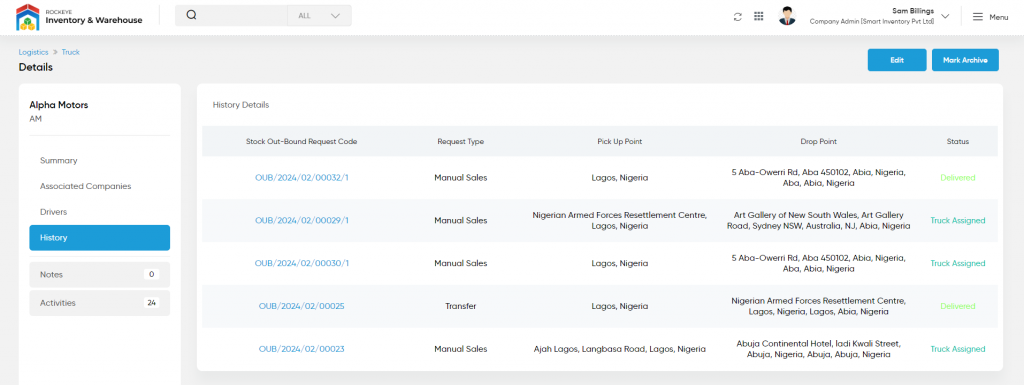
View Truck History
- On clicking the history tab, the admin will be able to view the truck history as shown below.
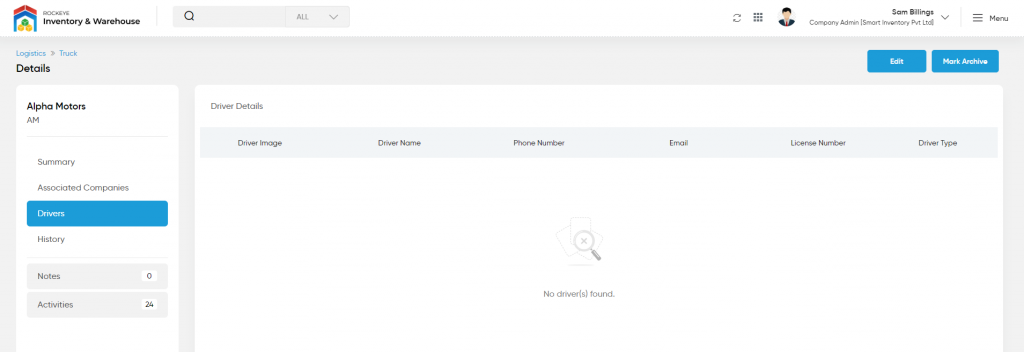
View Driver Details
On clicking the driver’s tab, the admin will be able to view the particular truck driver’s details, as shown below
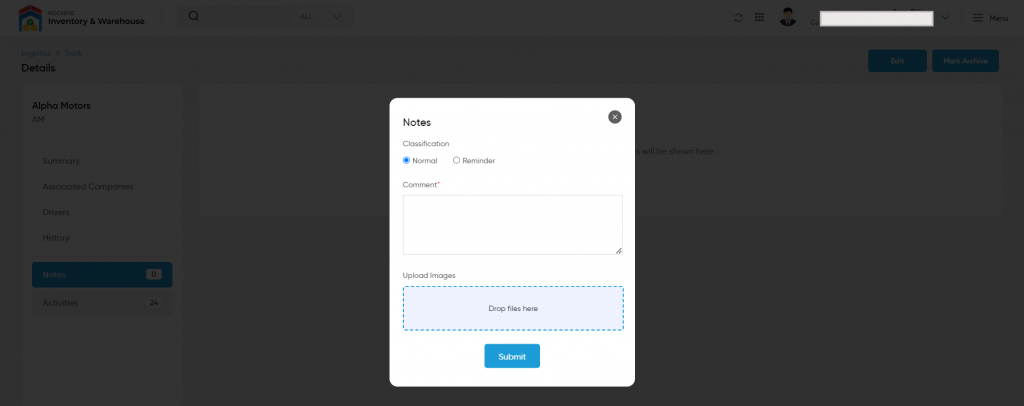
View Notes
- On clicking the notes tab, the user will be able to view and add notes for the trucks
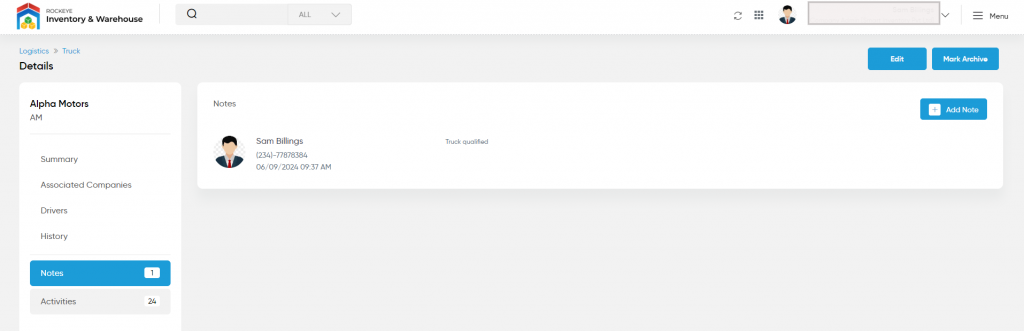
Add Notes: Notes can be added for the truck by adding “Remark” and uploading remark Documents.
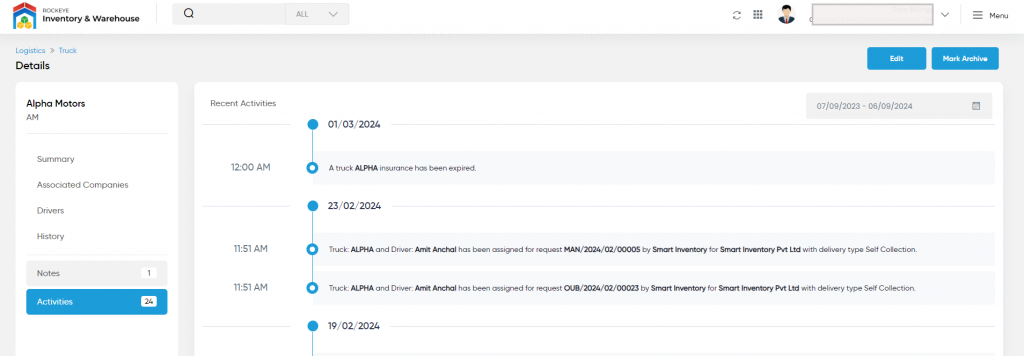
View Activities
- By clicking on the “Activities” tab, the user will be able to view the truck activities as shown below
Edit Trucks

- On clicking the edit button, the user will be able to edit the truck details.
Add Truck

- To add a new truck, click on the above button
Add/Edit Truck
- User will be able to Add/Update the truck from this page
- The user needs to fill in the truck information to add/edit the truck in the system.
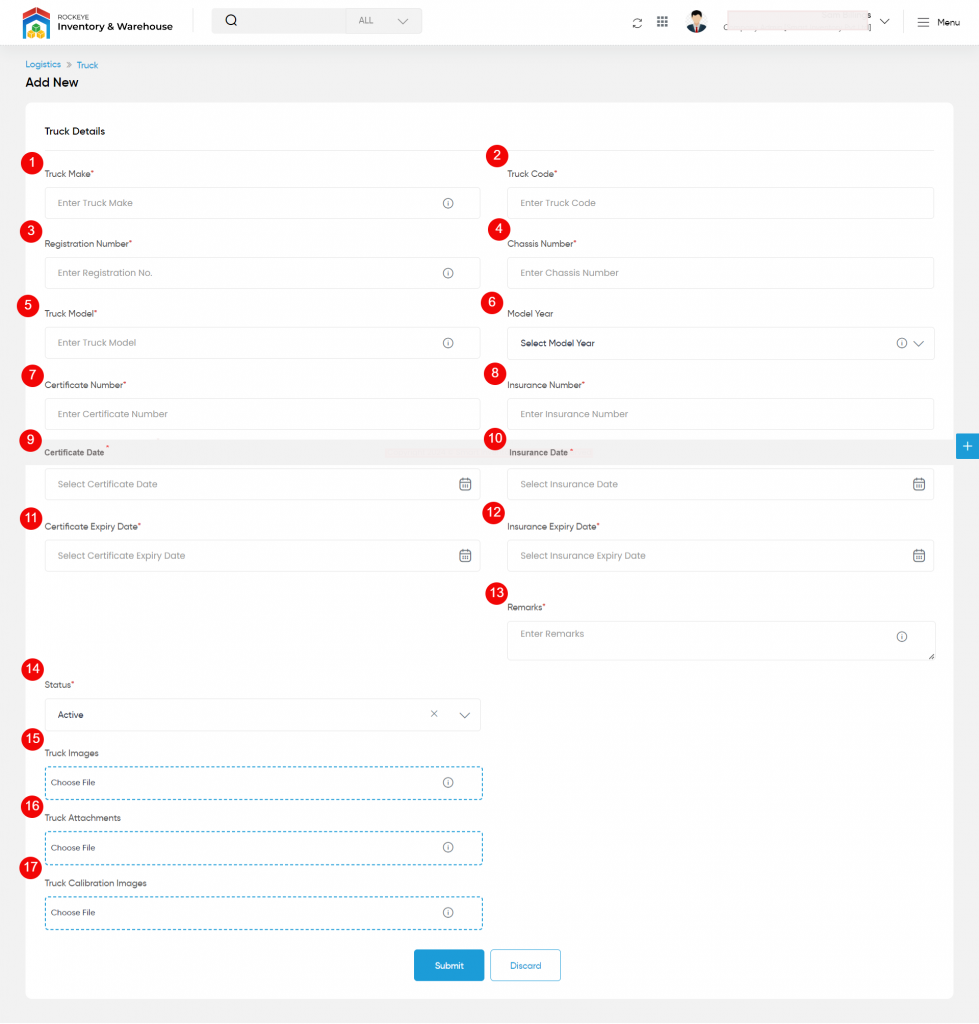
- Truck Make (Required): This is for specifying the Brand Name of the Truck.
- Truck Code(Required): This is for specifying the unique Code of the truck.
- Registration No (Required): This is to specify the truck Registration No.
- Chassis Number(Required): This is for specifying the Chassis Number of the code.
- Truck Model (Required): This is to specify the model of the truck.
- Model Year: This is for specifying the Model year of the Truck. For example, if the truck is modeled in the year 2000, choose 2000 as a model year from the dropdown.
- Certificate Number (Required): This is to specify the Certificate Number of the Truck.
- Insurance Number(Required): This is for specifying the Insurance Number of the Truck.
- Certificate Date (Required): This is for specifying the certificate issued date. Choose the date from the date picker.
- Insurance Date(Required): This is for specifying the Insurance Date of the truck.
- Certificate Expiry Date (Required): This is for specifying the expiry date of the certificate.
- Insurance Expiry Date(Required): This is for specifying the expiry date of the company.
- Remarks (Required): This is for specifying the Remarks of the Truck if any.
- Status (Required): Set the status for the truck.
- Truck Image: Upload the images related to the truck.
- Truck Attachments: This is for specifying the attachments of the truck. Upload the PDFs or images related to the truck by clicking the “+” (Add New Option).
- Truck Calibration Images: This is for uploading the truck calibration images.

- User can save the truck by submitting the form or can discard the truck.
- On Submission, the truck will be listed on the trucks listing page.