Users
Purpose
The main purpose of this module is to enable the user to manage All Users that include Read-Only Admin, Company Admin, Purchase Department, Production Department, Sales Department and Warehouse Department, etc., in the system. These users will have different types of roles in the system and information of the Users will be managed by the admin. Admin will have the option to log in and will also be able to reset the password of the user as well.
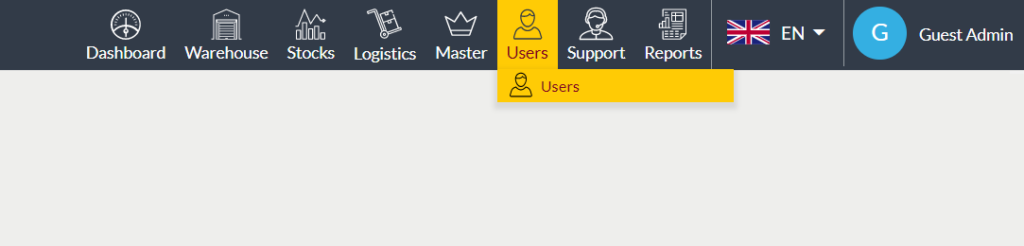
Navigation Path
Path: Users> Users
Listing Screen
View list of all the Users that were previously added by the Administrator. Admin will have an option to add, update, and archive/unarchive the Users. Admin will be able to search the Users using the filter option this is provided on the list. Admin can view the listing in two ways, the admin will have the option to change the view by clicking on “Change view” Button.

Table view

Grid view
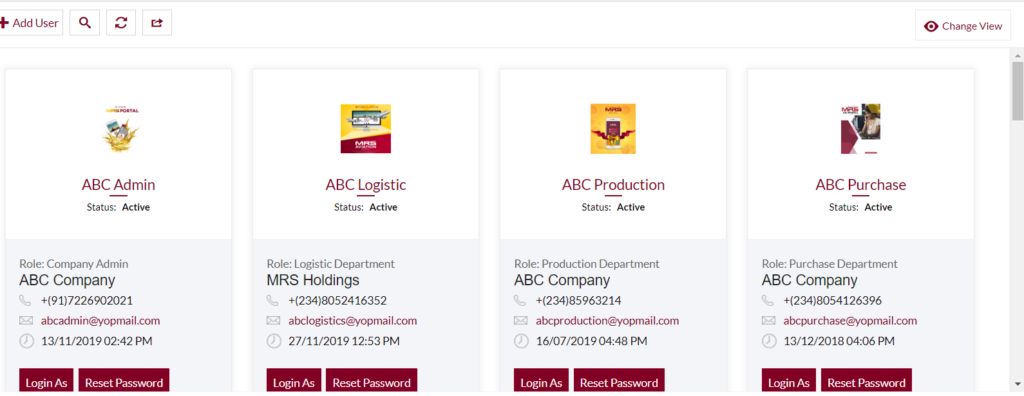
Actions: Admin will able to perform respective actions by clicking on the below buttons.

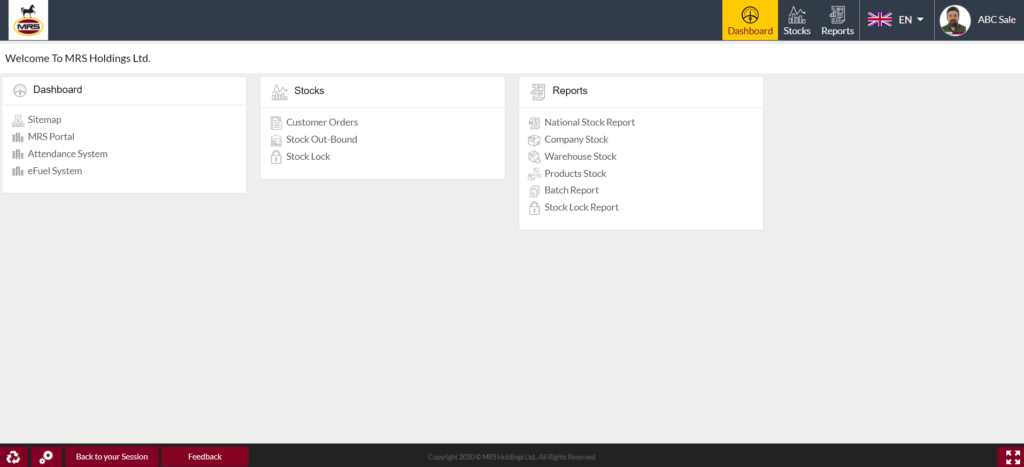
Login As
- Admin can access the accounts of all the users in the listing.
- Admin can perform all the tasks that the user does by accessing the account.
- By clicking on the “Back to your Session” button provided in the user’s account, the admin can switch back to his/her account as well.
Reset Password
- Admin will be able to change the password for any of the User accounts.
- On clicking the reset password button, below pop-up will be displayed.
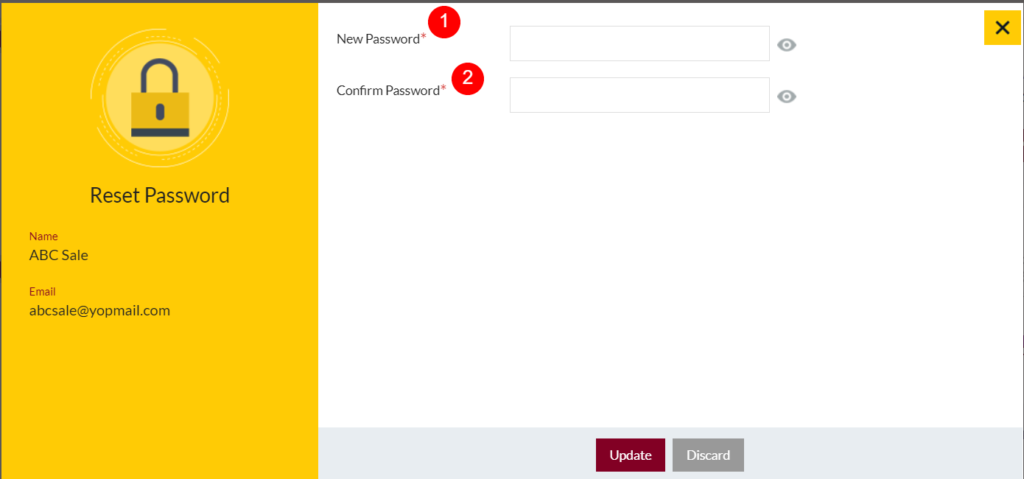
- New Password (Required): Enter the password that the admin wants to set for the user account. (On clicking the eye icon, the entered password will be visible)
- Confirm Password (Required): Enter the same password that has specified for the New Password filed for confirming the password.
Mark the User Archive
- Admin will have the option to archive the user’s from the list.
- Admin needs to select the user’s from the listing for Archiving them.
View the Archived Users
- On clicking the View Archive Data button, Admin will able to view all the archived users. As shown in the below
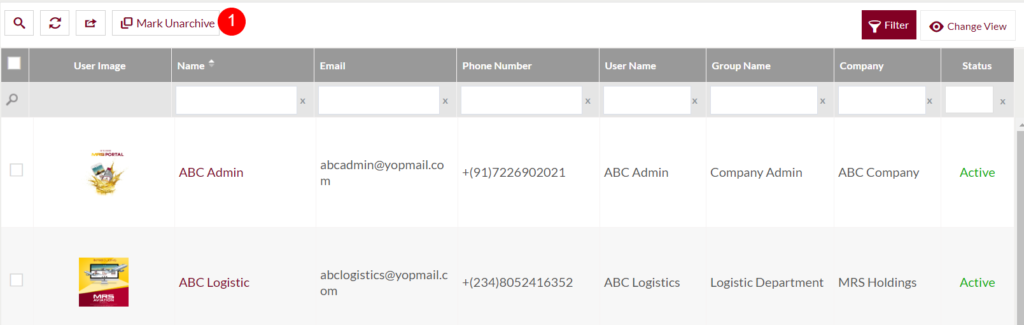
- Mark the user Unarchive

- In the archived users listing, the admin will have the option to unarchive the user’s from the list.
- Admin needs to select the user’s from the listing for unarchiving them.
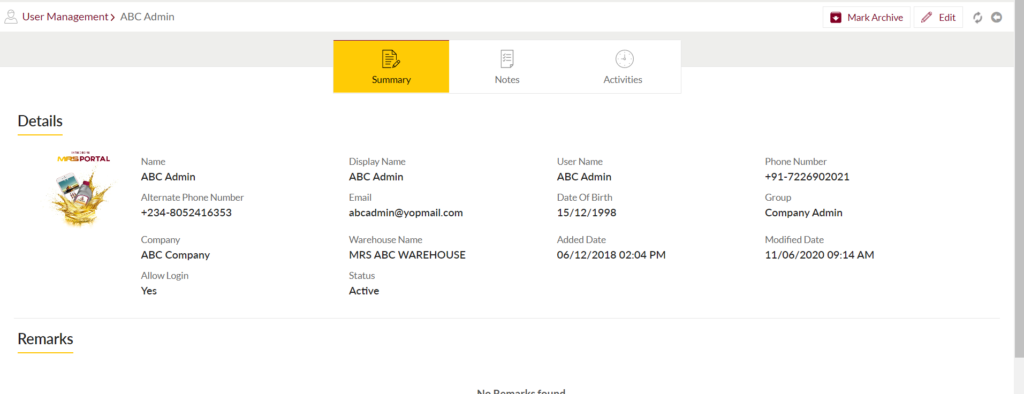
View User Summary
By clicking on the user name available in the listing, the admin will be navigated to the particular user summary page. As shown in below
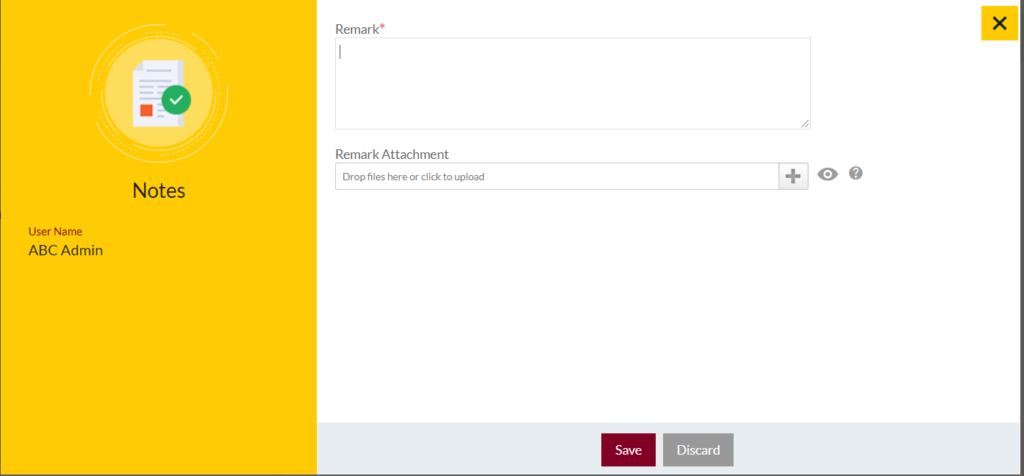
View Notes: On clicking the notes tab admin will be able to view and add the notes for the user.
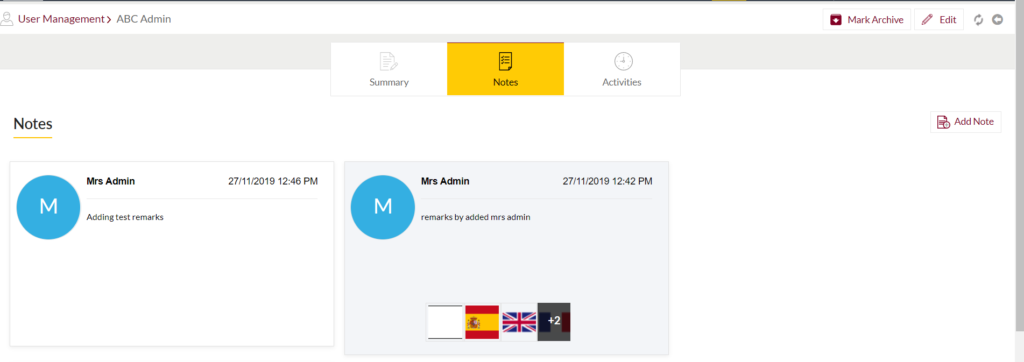
- Add Notes: Notes can be added by adding “Remark” and uploading remark Documents.
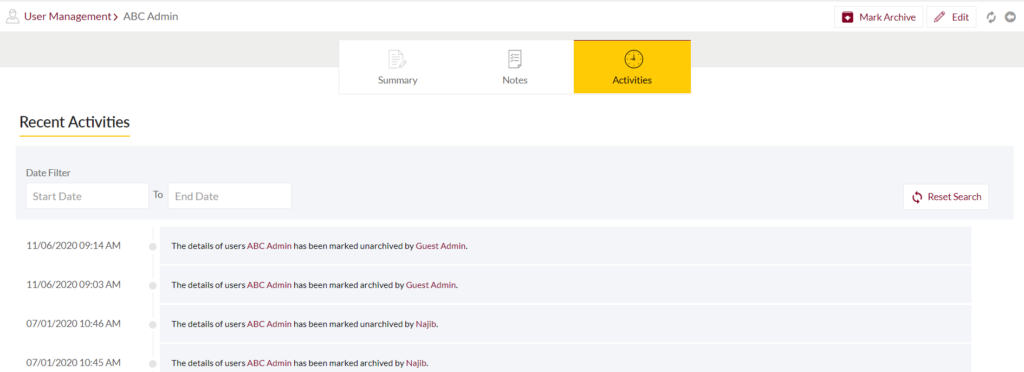
View Activities: By clicking on the “Activities” tab, the user will be able to view the user activities.
Edit User: Form the user summary page admin will be able to edit the user details. To edit the user details, click on the below button

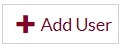
Add New User: To add a new user, click on the below button
Add/Edit User
- User will be able to Add/Update the user from this page
- The user needs to fill the user information to add/edit the user in the system.
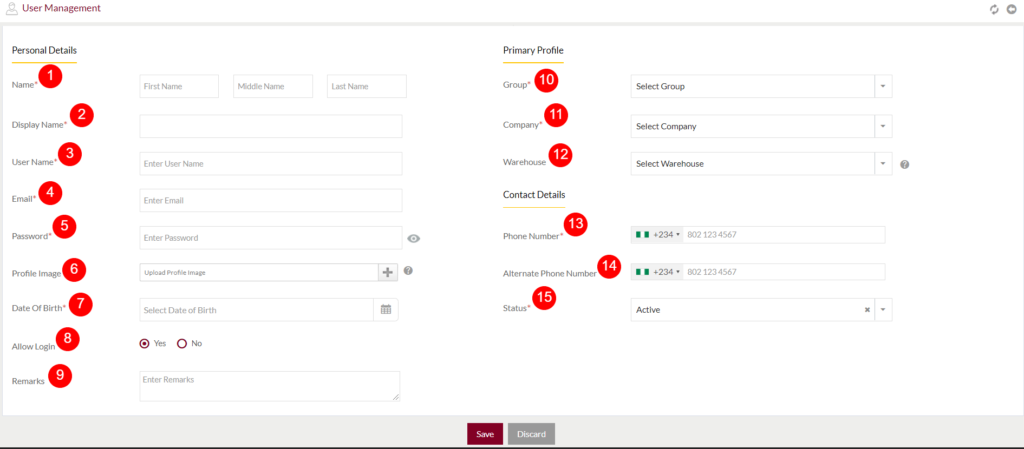
Fields available in the add/edit user management form
Personal Details
- Name (Required): This is for specifying the User Name. Enter the first name, middle name, and last name of the User.
- Display Name (Required): This is for displaying the name of the user, this field will be filled automatically when the user name entered. This can if changed manually if it’s needed.
- User Name (Required): This is for specifying the name of the user.
- Email (Required): This is for specifying the email address of the user. It should be unique.
- Password (Required): This is for specifying the password for the user account. This password should contain a minimum of 8 characters with at least one special character, one uppercase letter, one lowercase letter, and a numeric. For example, a good Password can be GtMrs1Ui#@241.
- Profile Image: This is for specifying the profile image of the user. Upload the profile by clicking on the “+”.
- Date Of Birth (Required): This is for specifying the dob of the User. Choose the correct date from the date picker.
- Allow Login: This is for specifying the user can have access to login to other users. If selected as “yes”, the user account will be accessible to other users.
- Remarks: This is for specifying the remarks if any.
Primary Profile
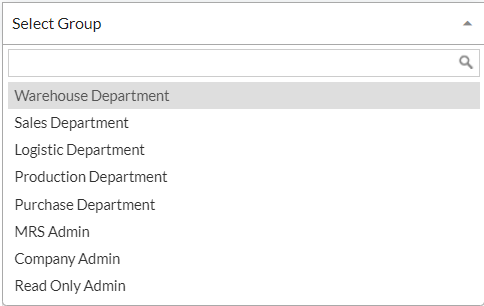
10. Group (Required): This is for specifying the Group to which the user belongs. Select the user group from the dropdown.
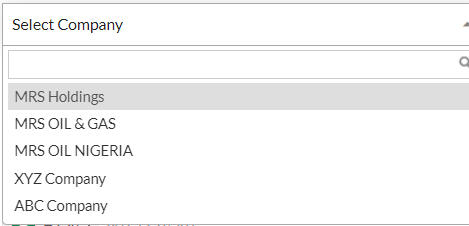
11. Company (Required): This is for specifying the company name under which the user is working.
12. Warehouse: This is for specifying the warehouse name for storing the user company’s products. If no warehouse is assigned, access for all warehouses under the selected company will be assigned for this.
13. Phone Number (Required): This is for specifying the phone number of the user. Choose the required country code for the phone number.
14. Alternate Phone Number: This is for specifying the alternate phone number of the user.
15. Status: This is for specifying the status of the user.
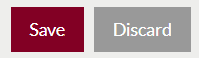
- Admin can save the user by submitting the form or can discard the user.
- On Submission, the user will be listed in the users listing page.